Monday, August 23, 2010

The Elvish Cami Project

During July I ended up working on the Inamorata Camisole. I began it three times, with the third time seeming to be the one that was charmed. I'm not sure why, but although I got gauge with a #6 needle when I tested it, I had to go way down and use a #2 and #4 when I was knitting it. This is why I ended up re-starting it because the first time I knit it, it was about 6 inches too large.


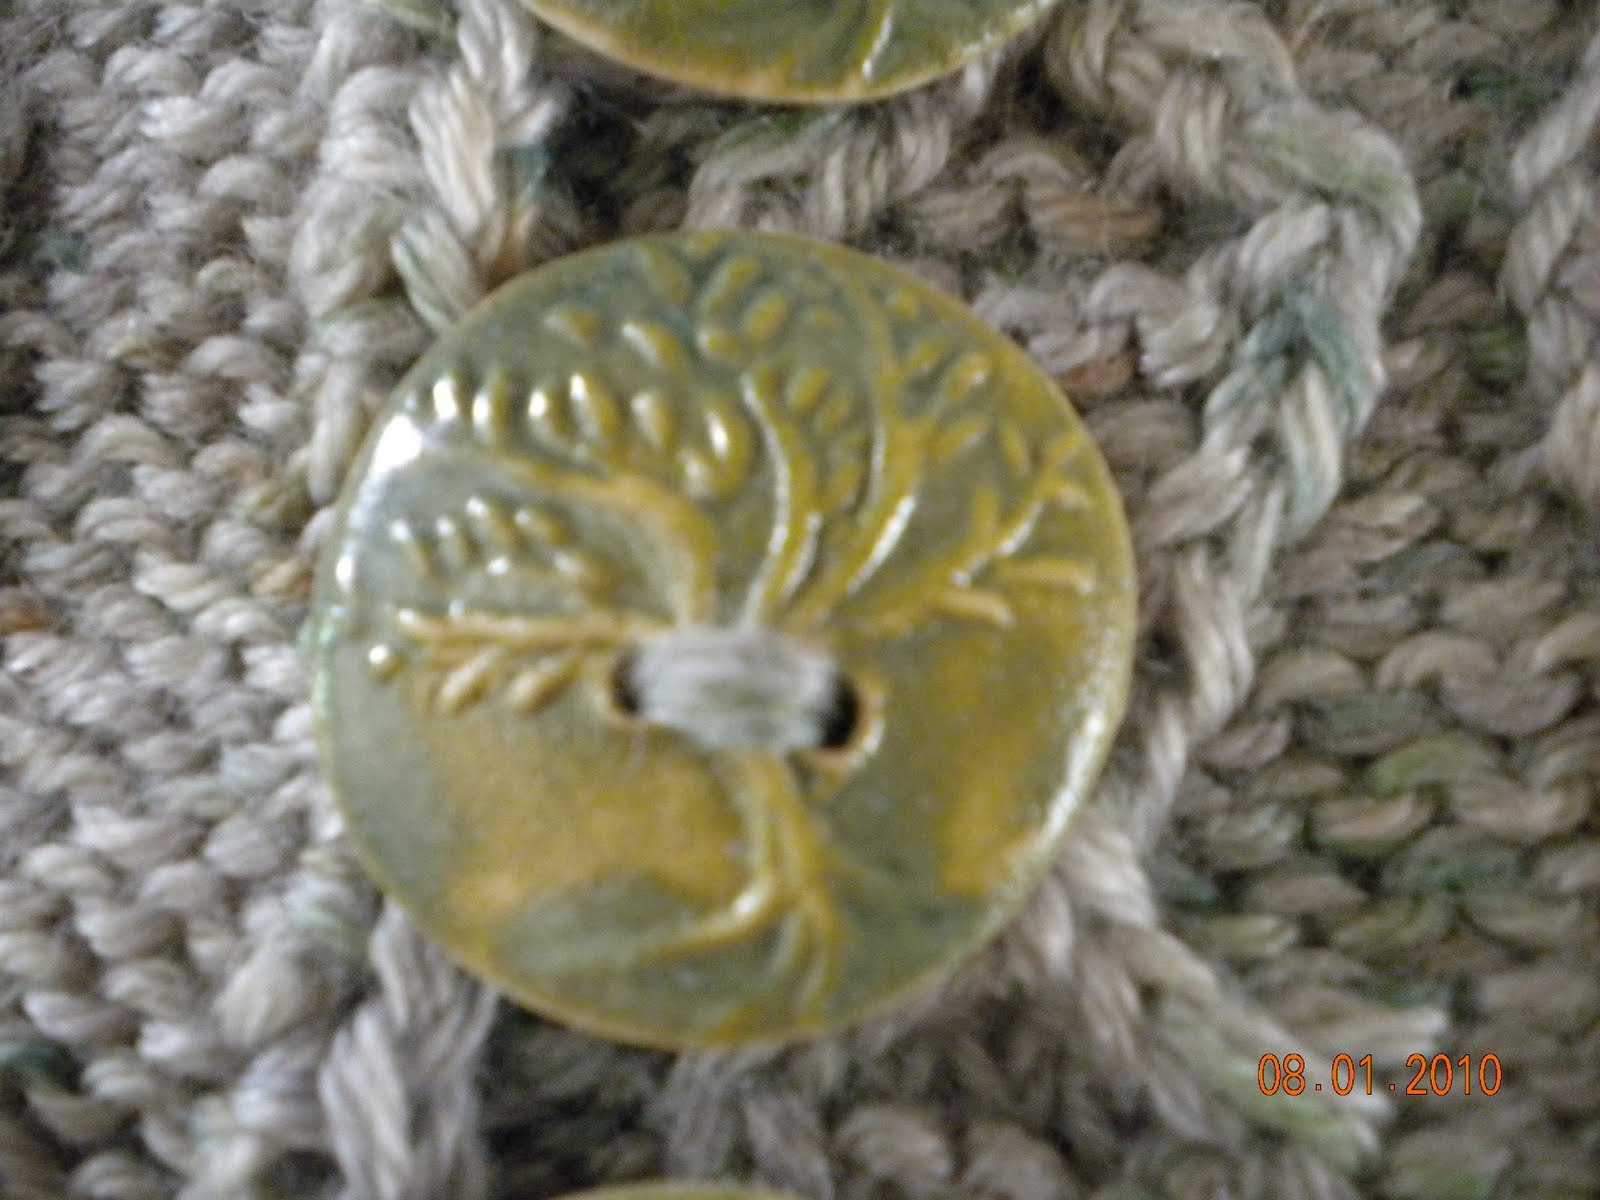
I used my 'Prince of the Wood Elves' colorway (this is a colorway that's named after Legolas from Lord of the Rings) and thus began my Elvish Cami. I held it double during the entire project and it created a very nice, and dense fabric. It's quite cool and comfortable to wear as well. So after all of my work, I needed to find the perfect buttons. A local Portland clay artisan was the answer. BeadFreaky makes these lovely clay buttons, beads and pendants. I absolutely love the tree buttons with the yarn, all coming together to make my Elvish Cami be what I pictured in my mind.


The best part is that the yarn is a superwash and I decided to try washing it inside a pillowcase the other day. I also tossed said pillowcase into the dryer on medium and then pulled it out after a regular cycle and hung it up to finish up drying since it was just the slightest bit damp. It looked just as fabulous as when I'd soaked it by hand and blocked it! I have to love that "wash and wear" aspect. Superwash yarns are beginning to really get on my good side, I'm telling you...

Friday, July 9, 2010

Video ~ knitting cables without a cable needle

For most cable projects, I've found it's easier to not have to use a cable needle in addition to your regular knitting needles. For a project like my Elvish Cami I'm knitting (aka Inamorata), this is especially true as the cables are 2 sts total.

During the course of my knitting this, I filled in the chart and ended up converting it from chart-form, to written out instructions. Since I normally do charts in the round, the whole back & forth charting, with purls and knits being both grey squares and white squares depending on which row I was on, I just found it faster for my brain to not have to go through that step each row. You can find my blog with the written pattern here.


And, now onto the video.......


Inamorata Chart - converted to written

Wow, life's been busy again...I've been working on Inamorata with some gorgeous Tinsel Toes merino/tencel blend yarn from The Unique Sheep. Painty had a Lord of the Rings sock club (now she's onto #3) a while back, and I could not resist her lovely yarns. This was back before I started dying my own yarns, and when I saw Inamorata needed a sock yarn held double, I dug through my stash, and there it was.... Prince of the Wood Elves staring at me, shining silvery with little flecks of brown and green. One of my favorite things is to wind up yarn just before a project so I get to see the light play across it's colors and help me envision the finished project. It's a different type of yarn for me, since it has 50% tencel in it, it has more of a feel like a cotton will, and I predominately knit with wools or alpaca/llama yarns... but it is nice, and is a perfect yarn for such a Summery camisole. Just the right color to show off the cabling, and just the right fibers for a light Summer cami. Now... if only I can get the right sizing. That is another blog post though, and this one I'm going to have the cable chart conversion on, so I'll get to the subject. I will also add in another blog later with a short video with cabling without a cable needle. This is a great project to learn it on too since these are tiny cables and quite simple to cable without a separate needle.


Note: I didn't think it would be necessary, but I found this pattern to be much easier with using stitch markers to mark each pattern repeat on my work. I had my two end stitch markers to separate the 3 (or 2 depending on the size you're making) stitches at each end of the work that are not worked in the pattern repeat, and then I used plain ring stitch markers to separate each 8 st pattern repeat. This way, if I made any errors, my brain found them faster and could identify the pattern much more easily as I went along. It saved much time down the road rather than counting out each section all together to see where the mistake was etc.

Inamorata Chart Conversion


Queue this on Ravelry
Inamorata pattern on Knitty

*keep in mind that you are knitting back and forth in this chart, not in the round. You can easily knit this in the round, by not joining it but knitting as though it were. If you do this, on every even numbered row, you'll need to reverse the directions & stitches (i.e. row 2 would become: p2, k2, p4).


(Begin and end each row with the 3 (or 2 if your size requires) each reverse stockinette stitches as pattern states)

Row 1:  p2, kfb, p4
Row 2:  k4, p2, k2
Row 3:  p1, c2b, c2f, p3
Row 4:  k3, p1, k2, p1, k1
Row 5:  c2b, k2, c2f, p2
Row 6:  k2, p1, k4, p1
Row 7:  k1 tbl, k4, k1 tbl, p2
Row 8:  k2, p1, k4, p1
Row 9:  c2fp, k2, c2bp, p2
Row 10: k3, p1, k2, p1, k1
Row 11: p1, c2fp, c2bp, p3
Row 12: k4, p2, k2
Row 13: p2, c2f, p4
Row 14: k3, c2f, c2b, k1
Row 15: c2b, k2, c2f, p2
Row 16: k2, p1, k4, p1
Row 17: k4, c2f, c2b
Row 18: k1, p2, k5
Row 19: k5, c2b, k1
Row 20: k1, p2, k5
Row 21: k4, c2b, c2f
Row 22: k2, p1, k4, p1
Row 23: c2fp, k2, c2bp, p2
Row 24: k3, c2bp, c2fp, k1
Row 25: p2, c2f, p4
Row 26: k4, p2, k2
Row 27: p1, c2b, c2f, p3
Row 28: k3, p1, k2, p1, k1
Row 29: c2b, k2, c2f, p2
Row 30: k2, p1, k4, p1
Row 31: k1 tbl, k4, k1 tbl, p2
Row 32: k2, p1, k4, p1
Row 33: c2fp, k2, c2bp, p2
Row 34: k3, p1, k2, p1, k1
Row 35: p1, c2fp, c2bp, p3
Row 36: k4, p2tog, k2

Like the pattern states, you will have 7 stitches for the pattern repeat, increased to 8 sts for the repeat beginning on Row 1. Row 36 decreases you back down to your original number of stitches.

If you see any mistakes, please email me so I can update it :)

Here's a pic of what my chart looked like after all my notes on it

Friday, November 13, 2009

Kiddo Mitts Pattern with pictures to show two at a time cast on


Kiddo Mitts
(in Harry Potter Gryffindor 'Apprenti Sorcier', see yarn description below)


These are on my 8 year old, who is petite and slender, but have enough ribbing stretch in them to accommodate most kids age 3 years to 8 years or more. They are easily adapted by adding in two to four stitches on the cast on edge to fit kids with larger hands and arms.


Needles: size US 2, 47" circular

Skills: magic loop, two at a time, long-tail CO, knit, purl, peasant thumb
(picture instructions below for getting started if you haven't knit two at a time on magic loop before)

I knit these two at a time on magic loop. If you prefer, you can work them one at a time on DPNs or on a circular. Just cast on like you normally would instead of following the cast on I'm giving.

~~~~~~~~~~~~~~~~~~~~~~~~~~~~~~~~


CO 48 sts and pull the end loop of the circular needle out so there are 24 sts on each side.


Push the sts back up to the needle tips and exchange the end st from each needle to close the circle. Then, pull back down so you can cast on for second mitt.


With a second ball of yarn, CO 24 sts (half of your total sts for one mitt) onto one needle for your second mitt.


Now, use your other needle to transfer these sts purlwise to your other needle.


This will put your working end where it needs to be to cast onto the other needle and close your circle by exchanging end sts like before.


Holding the working end of the yarn, ready to cast on the remaining 24 sts onto the other needle.


Two sts cast onto second needle using long tail cast on.


All sts cast on for second mitt, ready to exchange sts to close the circle and begin knitting.


(images above are knit using Biscotte & Cie's dark wizard colorway)


Both mitts cast on, circles closed by exchanging sts, with separate balls of yarn for each mitt. Ready to knit :)


Now that we are cast on and ready to go, when you are working with two at a time, you will knit along the first side of one mitt, then you will knit along one side and the other side of the second mitt, then you can finish up the last side of the first mitt and you will have completed one full round on each mitt at this point. I find it helpful to add a little stitch marker to the first mitt (or sock if I'm knitting socks) so that I always remember when I complete a full round on both. I usually just attach an clasp-type marker to the first row of knitting after I've completed a few full rounds and leave it there until I'm done.

*K2, P2* repeat in asterisks for each round, until you have knit 3" or 4" for the cuff and hand portion of the mitt. My example is knit in 4" length.

Using a waste yarn of contrasting color (important it's contrasting so you can find it easily), knit 7 sts onto waste yarn, then tuck ends inside work and pick up regular working yarn, leaving a comfortable float where you knit with the waste yarn.

Continuing knitting in pattern of K2, P2 for another 1" to 1.5" (example is knit in about 1") to complete the mitt. Use a stretchy bind off like Elizabeth Zimmermann's Sewn Bind Off

note: I usually bind off one side and then use the needle I just finished on to transfer sts onto so I can continue around in my bind off. You will only need to do this for the first mitt, as when you get to the second it's the only one left on the needles.

Now you are ready to knit the thumb.

Carefully remove your waste yarn and put the live sts onto your needles. Knit around first 7 sts, pick up 2 sts on side, continue onto other needle, knitting other 7 sts and pick up two more sts on other side of thumb.

Continue in pattern now of K2, P2 for about 5 rnds and bind off using EZ's bind off like described above for mitt bind off.

Do the same for second mitt. Any questions or corrections, please comment or email me so I can update. Thanks!